1. Getting started with E-invoicing Excel Utility
E-invoicing excel utility is a MS Excel based utility tool for generating e-invoices through IRISGST e-invoicing platform (Onyx). This document will explain in detail the steps that need to be followed for IRN generation.
To get started with this excel utility, you need to first sign up and set up your access rights and add your GSTIN on IRISGST e-invoicing platform (Onyx). Before adding GSTIN on IRISGST e-invoicing platform, you need to create credentials for IRIS GSP on NIC e-invoicing portal/Invoice Registration Portal (IRP).
Once the above steps are done, user can login to IRISGST>>Click on Onyx >>Download the excel utility from Dashboard.
This utility has all fields as per the e-invoicing mandate. “IRISGST E-invoice Excel Utility Input Format-Generate.xls” explains all the fields as per the schema and data expected against those fields. Refer “How to Read” worksheet for understanding remaining worksheets in the input format excel file.
2. Pre-requisites for E-invoicing Desktop Utility
E-invoicing Desktop Utility is MS-Excel based utility and supports versions Excel 2007 and above.
3. Login to E-invoicing Desktop Utility
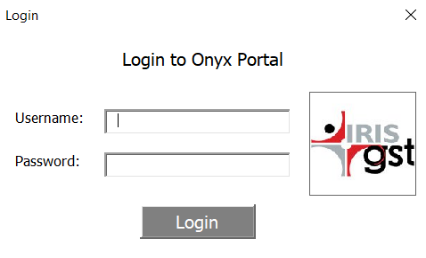
You need to login to E-invoicing Desktop Utility using IRISGST E-invoicing Web Portal credentials

Click on Login to Onyx Portal and input your IRISGST E-invoicing Web portal credentials.
4. Generate E-invoices
4.1 Map and import data from source files
Here for the desire output as per the utility tool of E-invoicing, you need to map your excel fields with the fields given in E-invoicing Desktop Utility.
In this tool, separate sheet named as “Map_Generate_IRN” is available for mapping.
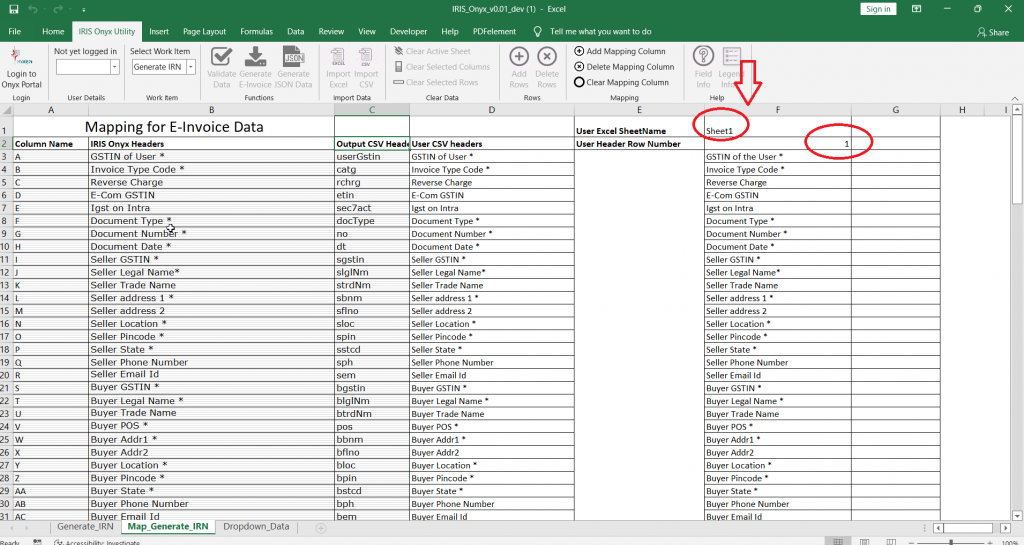
If your input file is Excel (.xlsx) then in “Map_Generate_IRN” sheet in F column, firstly you need to provide your “Excel sheet name” (Cell F1) secondly the “Header row number” (Cell F2) as per the input file that you are going to use for importing data in this utility.
After this a one-time mapping of column headers of input file needs to be done in “Map_Generate_IRN” sheet corresponding to Utility Headers in Column B. If input file is Excel (.xlsx) – then Column F needs to be updated and if input File is CSV (.csv), then Column D needs to be updated. For e.g. If your column header for Buyer GSTIN is Recipient GSTIN, then in Cell F21/Cell D21 change to Recipient GSTIN.
As a default mapping NIC excel utility format mapping is already added. So, this completes your process of mapping. It is a one-time activity of mapping. As a default mapping NIC excel utility format mapping is already added. So, in case your output file from ERPs is in NIC format then you can directly import data.
After completion of mapping, you need to import your file in this application. See the below image. One option of import data is available. For importing data two forms of files are allowed, one “Excel” and second “.csv” file.

Import your excel sheet or csv file for generating e-invoices
i. If you click on Import excel: Below pop-up will come
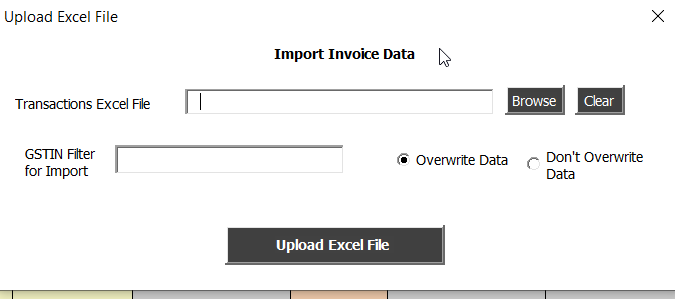
ii. If you click on Import .csv: Below pop-up will come
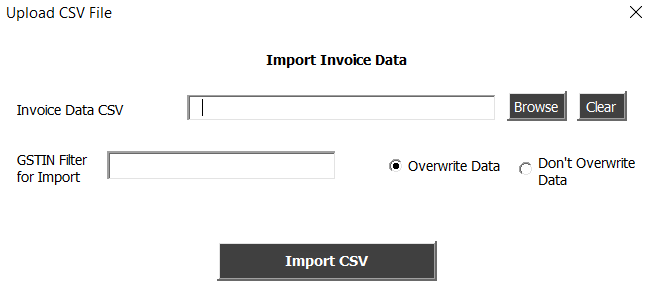
Here you need to browse your file and provide details as asked e.g., select one option from overwrite data or don’t overwrite data.
Then click on Upload Excel File/ Import CSV button so that data will get imported as required.
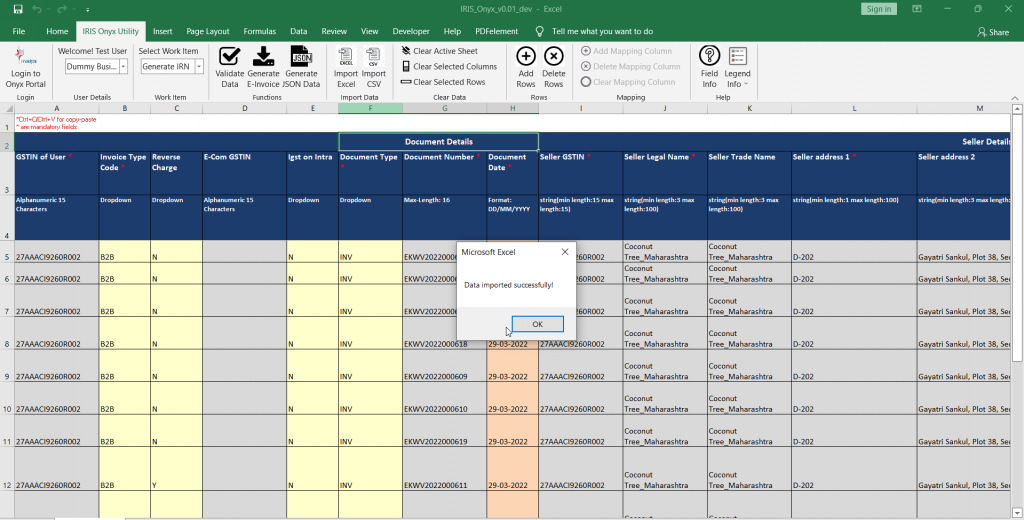
Once data get imported successfully below pop message will come. Click on “OK”
4.2 Validate data
Once invoice data is added or imported you can click on Validate Data to check if there are any basic errors like mandatory missed or length not as per requirement. If error found then one pop-up message will come about that error. You need to double click on that error message then it will directly take you to the cell which has issue.

Then you need to clear out that error first and then start processing of generate IRN.
4.3. Generate IRN
After resolving all errors, click on “Generate IRN”

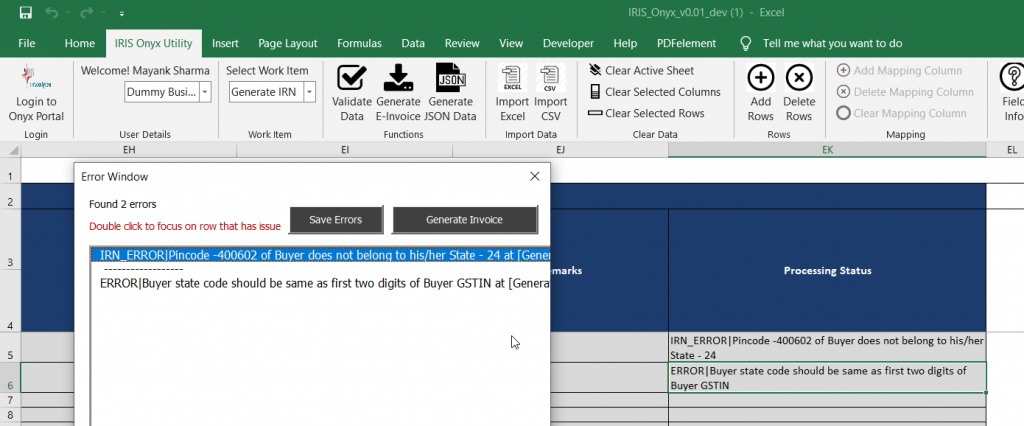
After basic errors if there are any other business errors (IRIS Errors/NIC Errors) then again popup will come and the error message can be seen in Processing Status Column at the end
If there are no errors then the IRN will get generated successfully and details like Acknowledgement Number, Acknowledgement Date, IRN, Signed Invoice, Signed QR Code, Status will be visible in Response from NIC columns at the end. If EWB is also generated along with IRN, then EWV Number EWB Date and EWB Valid Upto date will also be visible. Additionally Processing status will show Success.


